
Australian Floral Emblems 2014 – A Fine Art Linocut Tutorial
– Australian Floral Emblems 2014 – Australian Floral Emblems 2014 – A Fine Art Linocut Continue reading Australian Floral Emblems 2014 – A Fine Art Linocut Tutorial
Australian Alphabets – Fine Art Linocuts Tutorial Video
– Australian Alphabets by Lynette Weir – The process of developing my Australian Wildflower & Wildlife Alphabets Continue reading Australian Alphabets – Fine Art Linocuts Tutorial Video
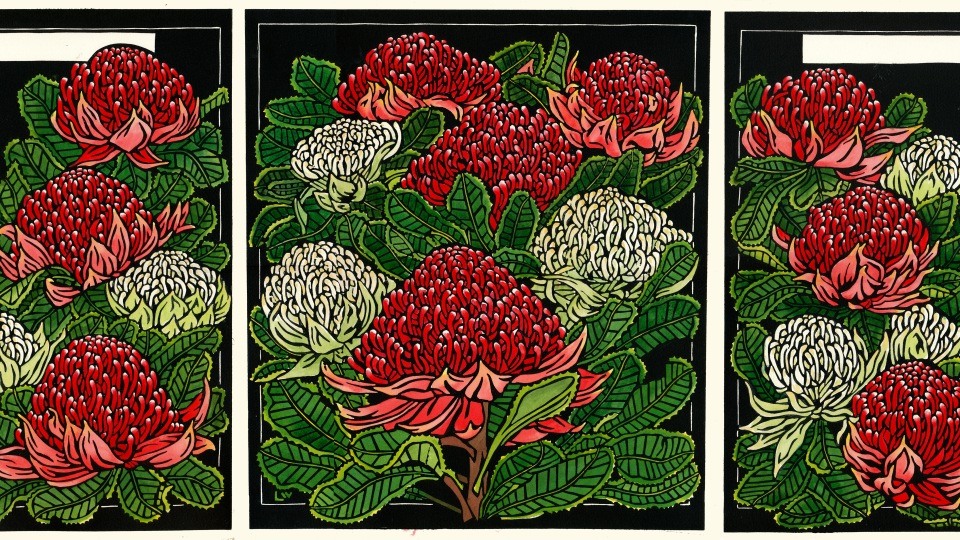
Waratah Tryptich – Fine Art Linocut Tutorial Video
– Waratah Tryptich – The Development of a new Fine Art Linocut Continue reading Waratah Tryptich – Fine Art Linocut Tutorial Video
Blue Mountains Wildflowers – Fine Art Linocut Tutorial Video
– Blue Mountains Wildflowers – The Development of a new Fine Art Linocut Continue reading Blue Mountains Wildflowers – Fine Art Linocut Tutorial Video
Seaside Wildflowers – Fine Art Linocut Tutorial Video
– Seaside Wildflowers – The Development of a new Fine Art Linocut Continue reading Seaside Wildflowers – Fine Art Linocut Tutorial Video
 Sticky post
Developing your own voice as an artist… my personal journey…
I grew up in Sydney surrounded by the Australian bush – the Royal National Park and those amazing displays of the sandstone Australian flora that Sydney seems to be steeped in. Even the buildings in Sydney reflect the legacy of … Continue reading Developing your own voice as an artist… my personal journey…
 Sticky post
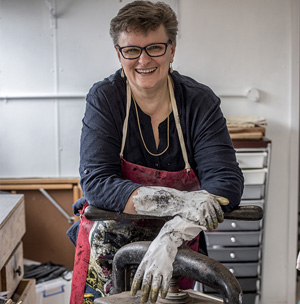
Tutorials – Art Bytes from Lynette Weir’s Studio Practice
LYNETTE WEIR – PERMISSION FOR USE OF ARTWORK Linocuts, design, drawing & illustrations by Australian Artist – Lynette Weir These ‘tutorials’ are an insight into the working methods of Australian Artist – Lynette Weir. All images, tutorial content on this site … Continue reading Tutorials – Art Bytes from Lynette Weir’s Studio Practice

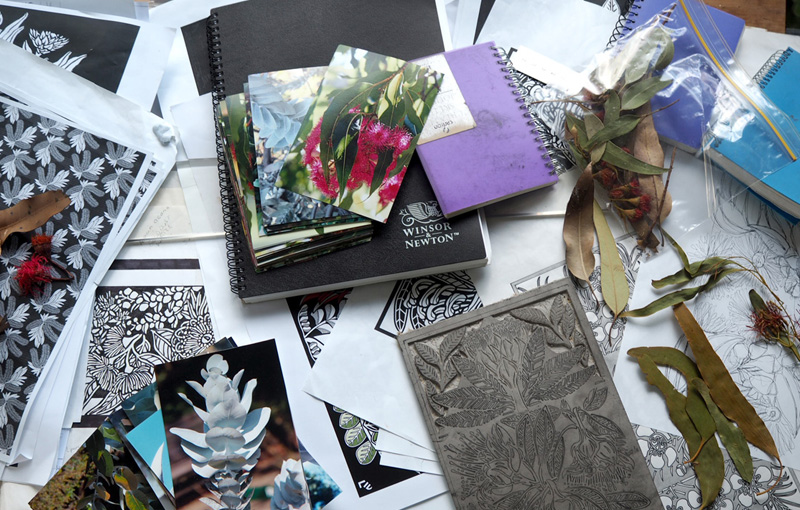
The process of developing my Australian Wildflower & Wildlife Alphabets
Over 10 years ago I worked on an Australia Fauna Alphabet but over the years my artwork, style & designs have developed & so a few years ago I decided to revisit the idea of producing a new Australian Wildlife Alphabet. Alongside this I wanted to also develop an Australian Wildflower Alphabet. When I produced the original alphabet & exhibited it I had a lot of feedback about how it would be great for posters or friezes. My artwork has always had a focus on Australian wildflowers & wildlife – growing up in Sydney surrounded by the bush was a … Continue reading The process of developing my Australian Wildflower & Wildlife Alphabets

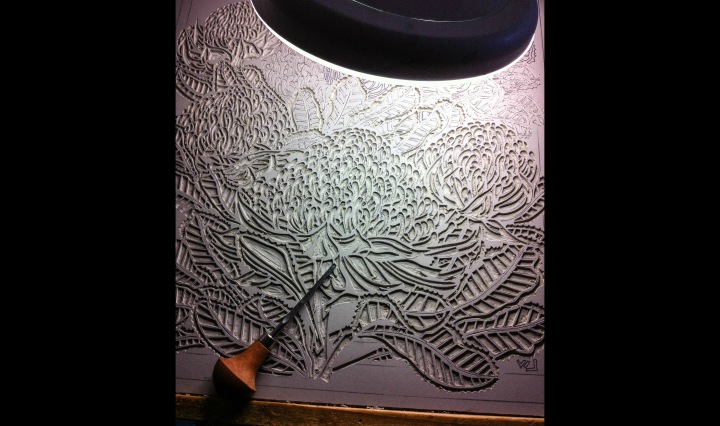
Blue Mountains Wildflowers Fine Art Linocut – A Step back in Time
The linocut ‘Blue Mountains Wildflowers’ is really a step back in time for me on many levels from the design inspirations to my memories of this region. As I’ve spoken about before I love the Blue Mountains region west of … Continue reading Blue Mountains Wildflowers Fine Art Linocut – A Step back in Time

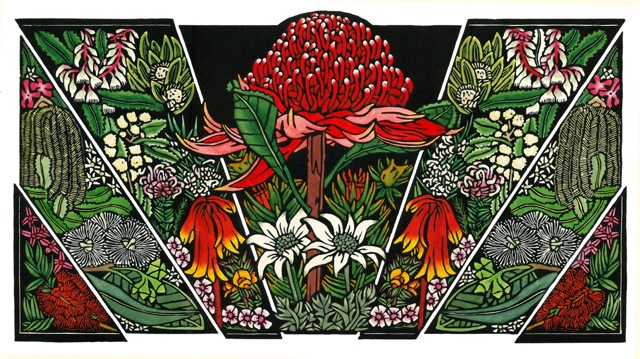
Seaside Wildflowers – The Development of a new Fine Art Linocut
SEASIDE WILDFLOWERS – CREATING A FINE ART LINOCUT The centrepiece artwork for an exhibition at the Northern Rivers Art Gallery was a new linocut – Seaside Wildflowers. Back in February I was approached by the Northern Rivers Art Gallery Director Ingrid Hedgcock, to exhibit alongside an exhibition of the Master Woods Craftsman & his students. For me it came at a time when recently becoming an ’empty nester’ & my shoulder was looking like it was going to recover after surgery & allow me to work – carve – again. It was also when I really need to get my … Continue reading Seaside Wildflowers – The Development of a new Fine Art Linocut
